blender 3d set drawing scale
Setup Blender so that you tin can model to scale. There are many ways of achieving a correct scale to your models in blender. This tutorial will embrace a couple of those methods.
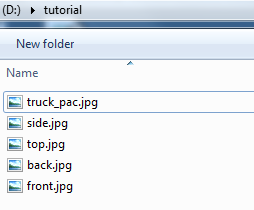
First obtain a digital copy of a cartoon of the object you wish to model. For this tutorial I constitute scale drawings of Pacific freight truck. The calibration drawing had simply ane scale marker in the cartoon just that'south all I demand. First I had to do some image editing so that the four different views all had a dissever file for the view. Some cut and paste was necessary so that my calibration marker was in each view. And so I saved them all to my project directory.
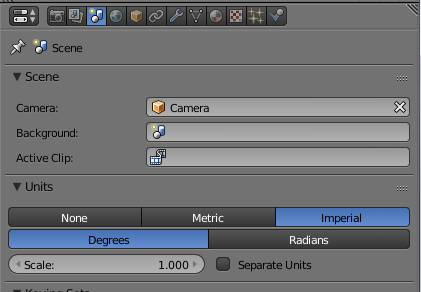
Open blender. Exit the default cube where information technology is and save your alloy file to your projection directory. The default unit for blender is a generic 'blender unit'. We have to first change this. In the properties expanse of the UI go to the third tab over which is the scene tab. Under the scene tab there is a units section. I'one thousand selecting imperial considering the scale marker in my diagram is in inches.
Hitting N or go to the view menu and select backdrop. Detect that blender has two view menus. Ane is on the timeline window, but the ane nosotros desire is at the bottom of the 3d view-port. There is a section in properties labeled mesh display. In there click on the radio button for length. Now become into object edit manner and select at least ii vertices on your default cube. You volition now see how far apart those points are.
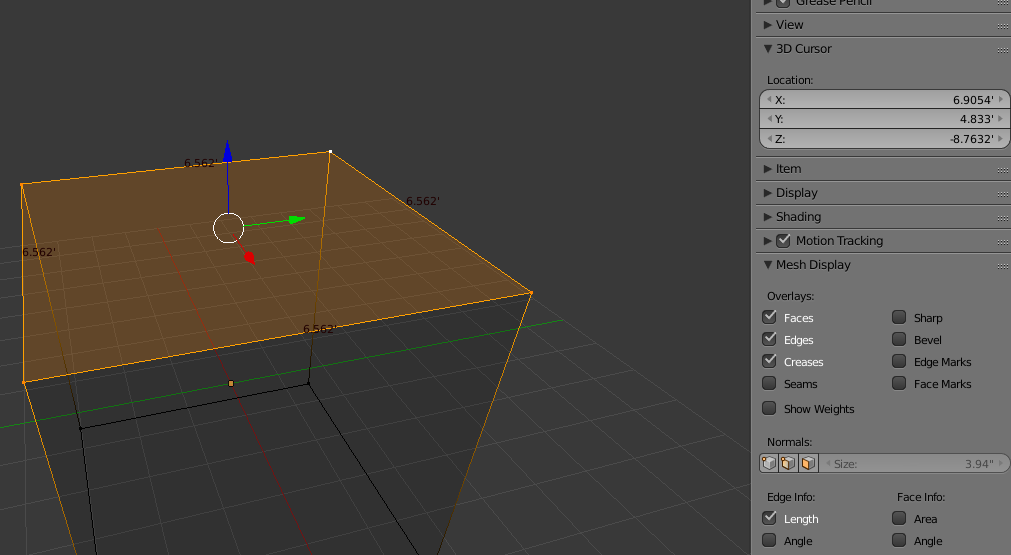
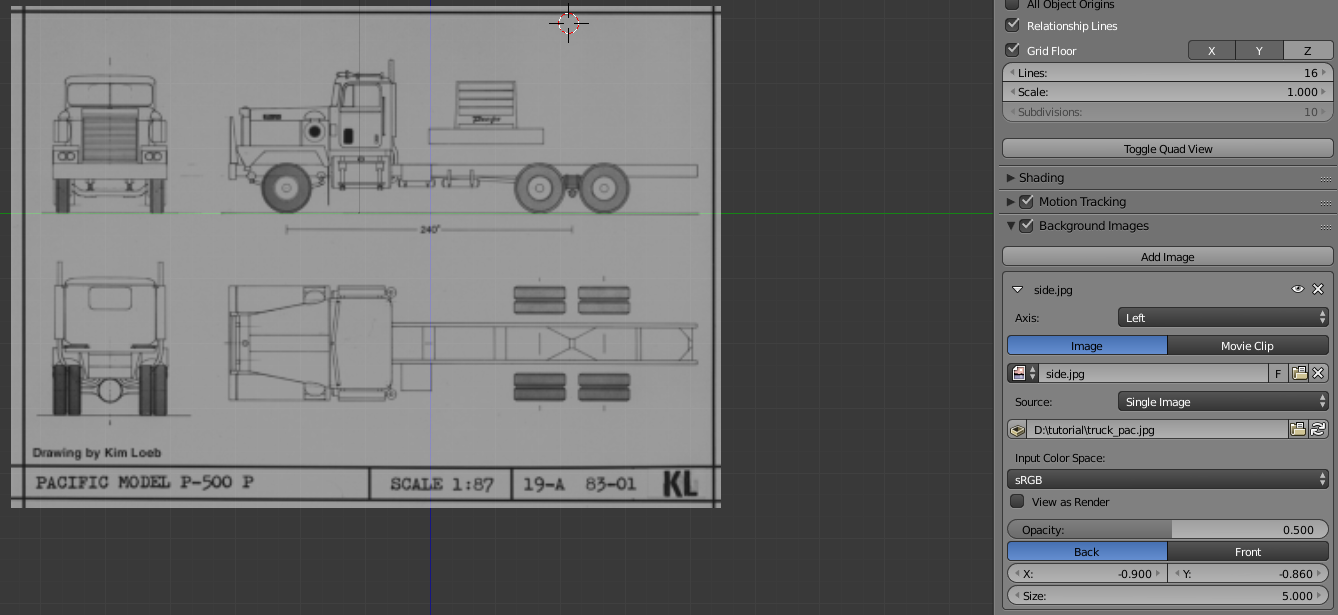
The default cube is 6.562' square. Setup the left mitt projection view-port with a groundwork scale image. Hit CTRL + numpad 3 or become to view -> left. If you are still viewing things in the default 3d way so hit numpad v or select view-> View Pers/Ortho. Next in the properties find the section background images and check the radio button for that. Then press the add image button and a new subsection will appear. In this subsection change the centrality from all views to left.

Click on the open up push button and browse to your scale image for the left side and select it. Once you lot have a file selected there are more options that pop upwards in the electric current section. Your background image should at present brandish in the 3d view-port equally well. The paradigm is centered at 0,0 of the view-port and scaling is set to 5.0. You should still be in edit mode working on the default cube. Scale that cube up until it is the same size as the calibration marker on the groundwork prototype. My mark is 240" so scale the default cube up to 20'. Lastly adjust size value of my background epitome and reposition my default cube until they both match up as the same size.
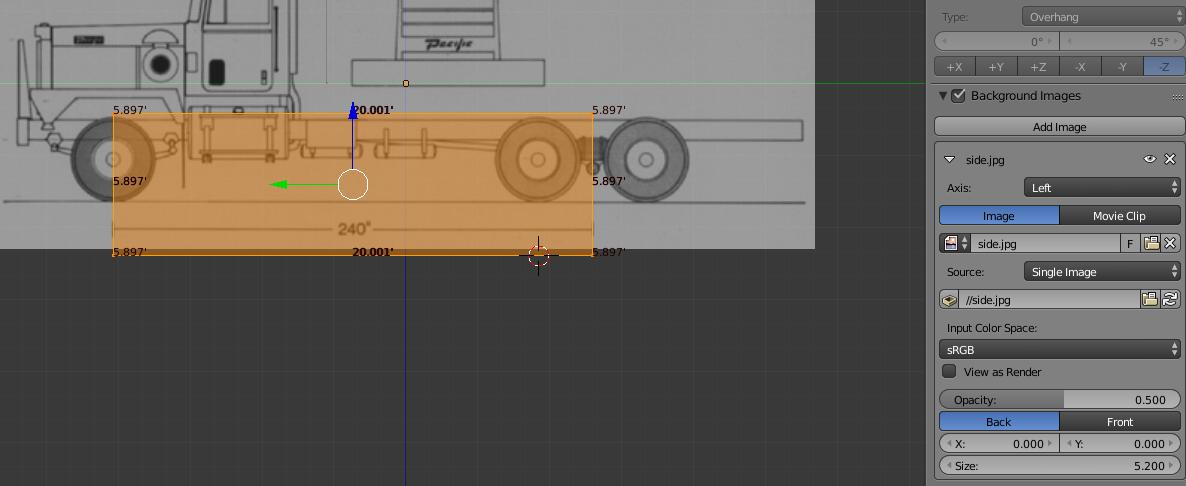
The groundwork epitome is the correct size then that if I model things relative to that prototype everything will exist to scale. You may notice that I'm off a chip (.001) on the scaling of the default cube. For scenery items this is not that big of a bargain but for engines and track cars your going to want to play with the scale until its exactly correct. Then don't touch the scale value for your background image e'er again once you lot have it right.
Lastly suit Y value for the background image position and move the epitome upwards until the tires are sitting correct on the Y axis. Repeat this procedure for each view that you accept an image for and your all setup to get-go modeling.
Method 2 An alternate method that works well for scenery objects is to just start with 1 image of your scaled drawing. Do all the steps upward until you have added the background image and tin can view it in the view-port. Don't alter the scaling at all. This is very important because if you do this things will get messed up. Simply use the x and y positioning values to adjust the portion of the background centered advisable for the view-port you currently working with.
Repeat this process until all your views are setup and then model away. You will non be modeling to scale just your proportions will all be the same. Once your done modelling you then select all your meshes and scale them up / down to the right scale before exporting.
This is a good strategy if yous have a scale drawing with no scale markings on it. All yous have to know is the dimensions of one of any one part of your mesh. Scale everything and then that that one function is right and everything is and then correct. For case if you have a scale drawing of a building and the door to your building is an 8' door you use that measurement to see if your door is the right size. Just remember to scale everything together.
Return to Alphabetize
<< How To Guides
varnermannery1952.blogspot.com
Source: https://online.ts2009.com/mediaWiki/index.php/HowTo/Scaling_setup_in_Blender
0 Response to "blender 3d set drawing scale"
Postar um comentário